Siemens WinCC SCADA Report Printing and Print Job Configuration in Report Designer
Published on Jun17, 2025 | Category: print reportShare this Page:
Report Designer is an application in Siemens WinCC SCADA software that allows you to create or use predefined print layouts, and configure print jobs to generate reports on a daily or scheduled basis, depending on your application needs.
The report function is a very useful feature in the industrial automation industry. Using reports, you can generate power usage reports, energy consumption logs, plant production data, machinery usage statistics, and more.
These reports can be directly printed as hard copies and saved for future reference.
In this article, we will simply learn how to print reports and configure print jobs using Report Designer.
The PrintReport system function allows the HMI to generate and print predefined reports, either automatically or upon user request. This feature is especially helpful for logging alarms, process values, or audit trails in both physical and digital formats.
The report is generated using the HMI's current runtime language and sent to a connected printer or saved locally.
Siemens WinCC SCADA also enables users to print runtime screens and reports directly from the HMI system.
In this guide, you’ll learn how to configure print jobs using VBScript, use the WinCC PrintManager, and print active screens in Runtime.
Whether you're printing to a physical printer or exporting to PDF, this tutorial covers setup, troubleshooting, and code examples for WinCC V7.4 and related versions.
This feature is ideal for automation engineers looking to generate customized SCADA reports from WinCC.
In Runtime, background tasks such as printing daily reports, monitoring tags, or performing picture-specific calculations can be executed as automatic actions.
What is Report Designer in WinCC SCADA?
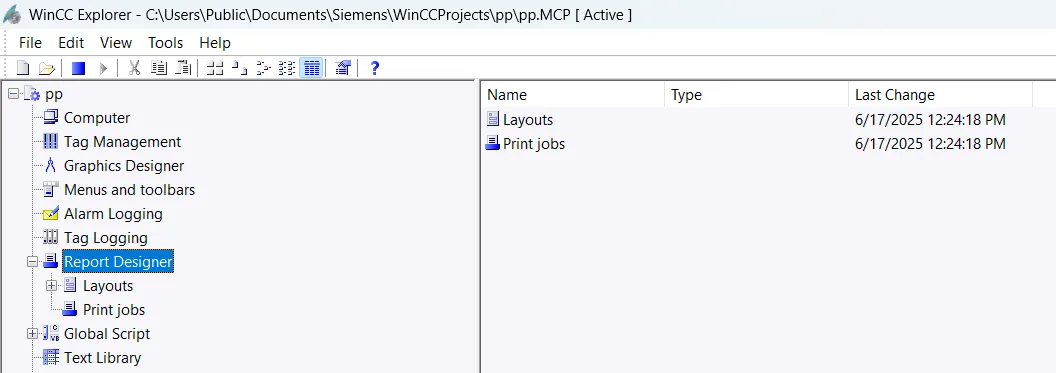
Report Designer is a built-in application in Siemens WinCC SCADA that allows users to design, configure, and manage printable reports for HMI and SCADA systems. It is mainly used to generate automated or manual reports related to plant operations, alarms, power consumption, production data, machine usage, and more.
In Report Designer, there are two main components:
- Layouts: A layout is a default template used to format and print reports. You can also create custom layouts to match your specific reporting needs and use them in print jobs.
- Print Jobs: This section allows you to configure how and when the reports are printed. You can define printer settings, printing frequency (daily, hourly, etc.), and trigger conditions. Each print job is linked to a layout, which determines the report's appearance.
Key Features of Report Designer
- Create printable layouts for alarms, process data, and custom information.
- Supports text, tables, charts, images, and dynamic data fields.
- Allows setting up scheduled or event-based print jobs (daily, shift-wise, on alarms, etc.).
- Reports can be printed directly to a printer or exported as PDF files.
- Useful for audit trails, power analysis, production logs, and maintenance records.
What is Print Layout in WinCC SCADA?
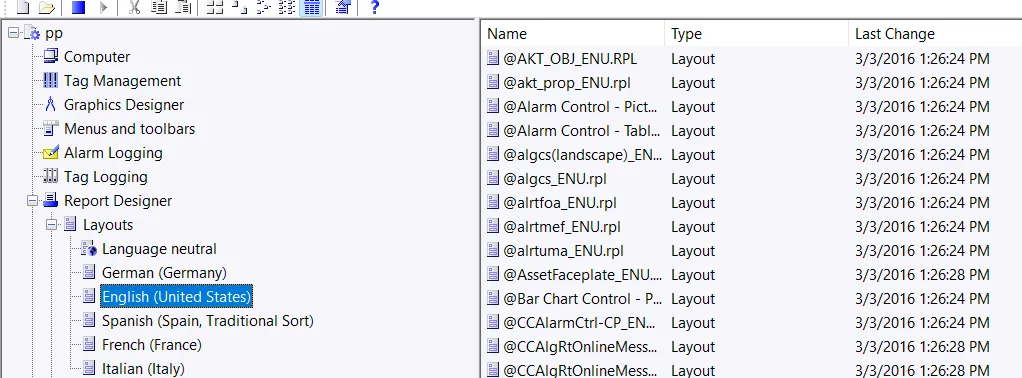
Print layouts in WinCC SCADA are templates used to format reports for printing via print jobs. You can create a new print layout or use predefined ones provided by the system. In each layout, you can customize the report structure, content, and formatting to suit your application’s needs.
Print layouts support multiple languages such as English, German, French, Italian, and more, making them suitable for multilingual industrial environments.
To create a print layout, first select the layout language, then double-click on it to begin designing your custom report format.
Create a Print Layout Using Report Designer
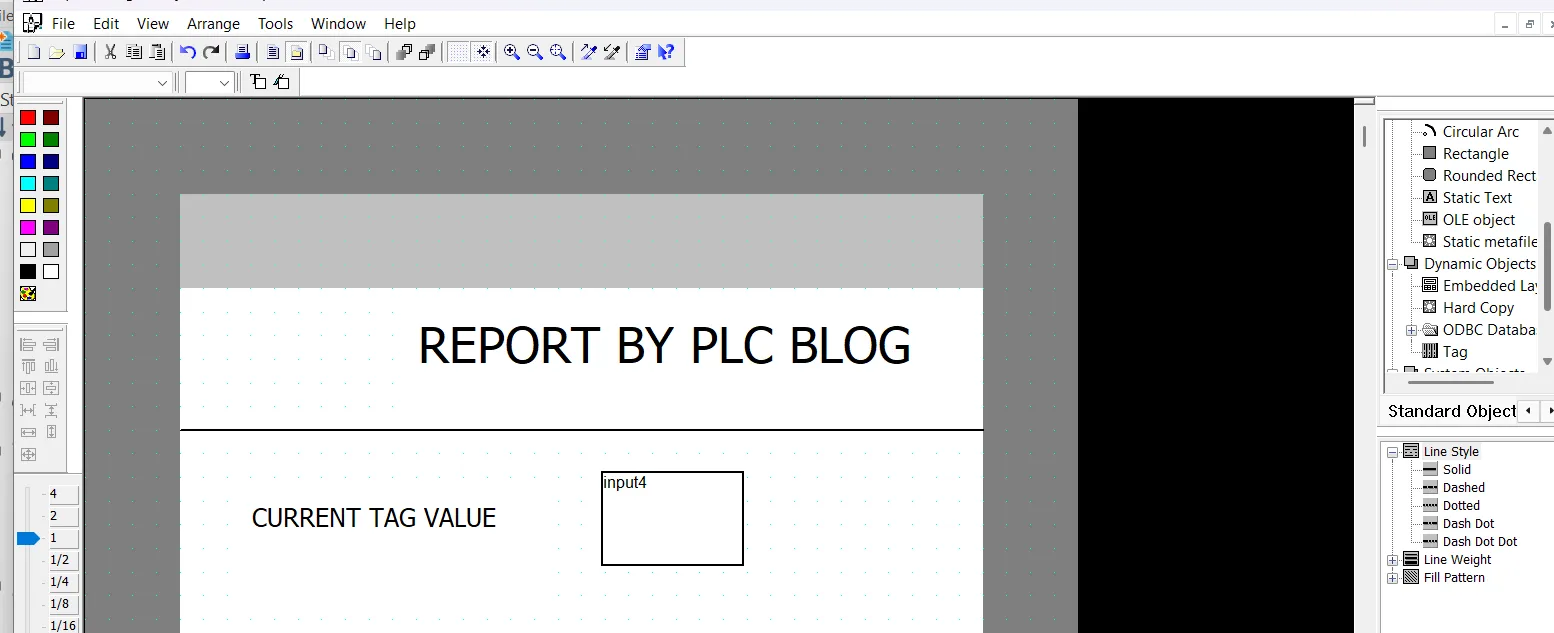
Now the report layout editor will open, where you can design your custom report layout. You can add or insert layout components like tags, datasets, static text, circles, lines, images, company logos, and more. The following three types of components are available to add:
- Static Component or Object: Static objects are used for the visual design of a page layout. You can insert them into both the static and dynamic parts of the layout. These include graphics like lines, circles, ellipses, and polygons.
- Dynamic Component or Object: Dynamic objects are linked with data sources that contain valid values for the selected object. These values can be displayed in the WinCC layout. Dynamic components are inserted only in the dynamic part of the layout. They are typically connected to tag values or database datasets. In this article, we use a dataset to print the current tag value.
- System Object: System objects act as placeholders for values such as the system time, current page number, project name, and layout name. They can only be used in the static part of the layout. Examples include Date/Time, Page Number, Project Name, and Layout Name.
To create a layout, simply add a line, then insert a static text element to enter a title or name. After that, select a tag from the dynamic object section and build your report. Once completed, save your layout.
How to Create a Print Job in WinCC SCADA
To print reports in WinCC SCADA, you need to create a print job that defines when and how the report will be printed. You can choose from predefined templates or use a custom template that you created earlier using Report Designer.
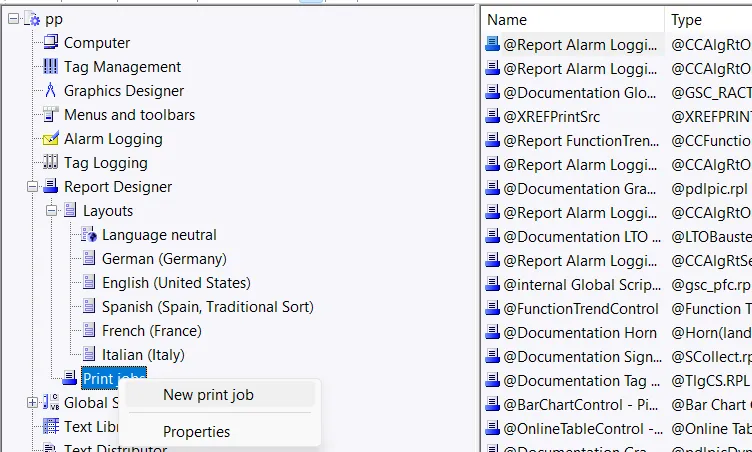
To create a new print job:
- Open the Print Jobs section in the Report Designer.
- Right-click on the workspace and select New Print Job.
- Assign a name to your print job and choose the layout template to be used.
- Configure printer settings, such as the device, number of copies, and output format (e.g., hard copy or PDF).
- Set the print cycle—you can define it as daily, shift-wise, on alarms, or based on specific events.
- Save the print job configuration.
Once configured, your print job will automatically print reports based on the defined schedule or triggers.
How to Configure Print Jobs in WinCC SCADA
Select the print job you want to configure. (If you've just created a new print job, it may appear at the bottom of the print job list with a name like Print Job 0001.) Double-click on the job to open the print job configuration dialog. In this dialog, you can define how and when the report should be printed.
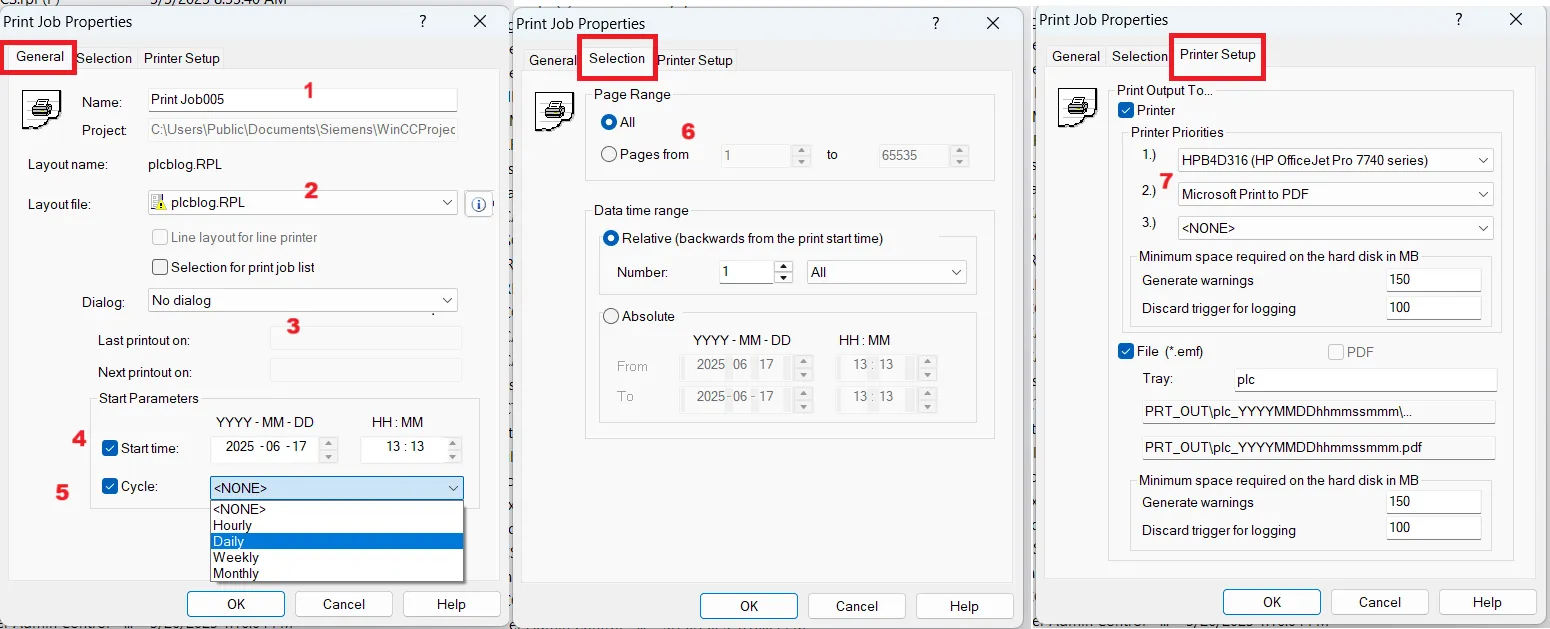
The following tabs are available in the print job properties:
- General Tab: In this tab, enter the print job name and select the layout file. Set the time interval for printing and choose the dialog that triggers when the print job starts.
- Selection Tab: This tab allows you to configure the page range and time-based print settings.
- Print Setup Tab: Configure printer settings such as printer priority, paper size, and output format. You can also choose to generate the print file in PDF format.
Follow these steps to configure and run a simple print job:
- Select your print layout from the General tab.
- In the dialog selection, choose No Dialog for automatic printing.
- To enable automatic printing, select Cyclic Print, enter the print time, and choose the print cycle.
- If you want to print only specific pages, go to the Selection tab and define the page range.
- In the Print Setup tab, configure your primary and secondary printers by setting priority.
- To save the report as a PDF, select File and enter the output file name.
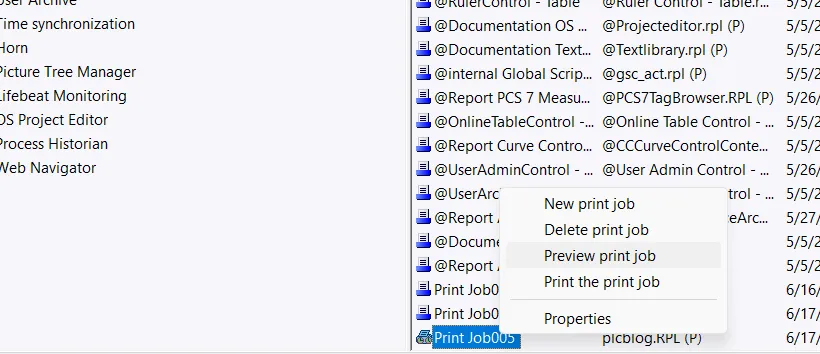
Check Print Preview of Print Jobs in WinCC SCADA
After saving your print job, right-click on it and select the Print Preview option. This allows you to view all the pages of your report and verify that the tags are displaying the actual values correctly. Print Preview is useful for reviewing the layout and ensuring that the report content appears as expected before printing or exporting.
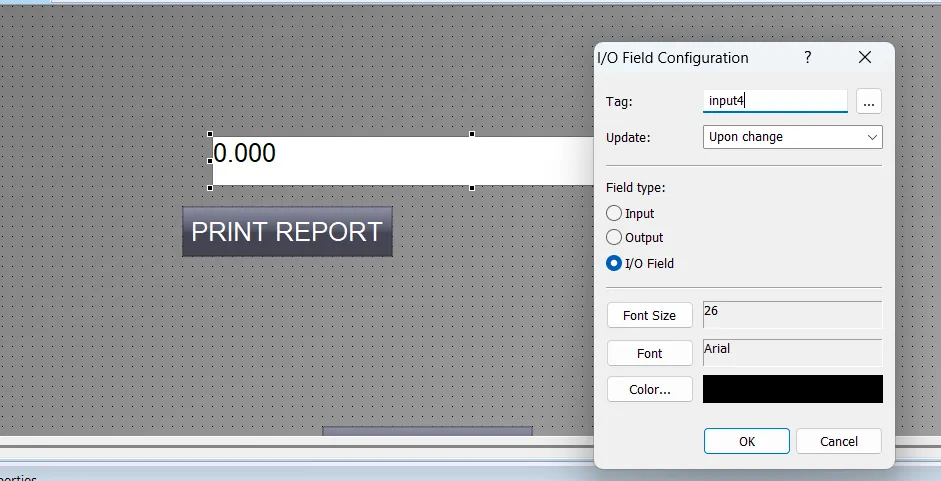
How to Use Print Report Jobs in Graphics Designer
Open the Graphics Designer in WinCC SCADA and add an Input/Output Field and a Button to your screen. In the Input/Output field, assign the tag that you defined earlier in the print layout. For this example, we are using the tag Input_4 to display live values in the runtime and to include them in the printed report.
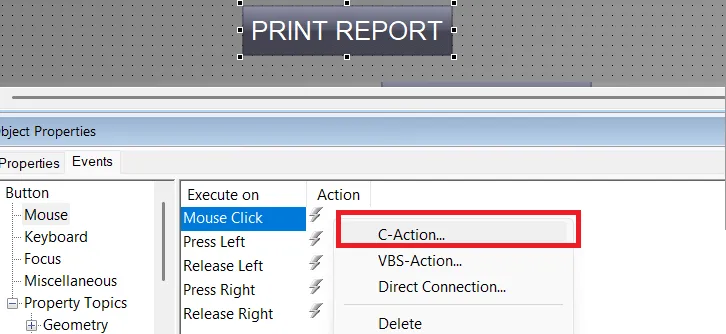
Button Event to Print Preview and Print Report on Click
Select the button you want to use for triggering the print report event. Then, go to the Events tab, choose the Mouse Click event, and select C Action to write your print preview or print script.
WinCC SCADA Script to Print Preview of Report
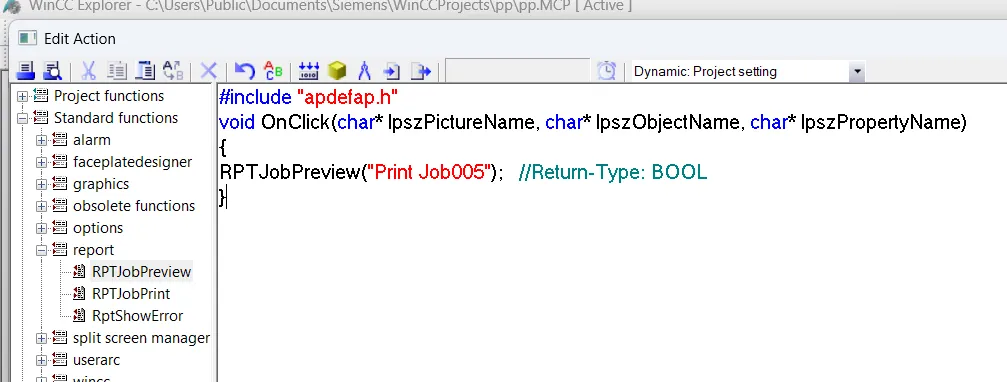
In WinCC SCADA, you can use the RPTJobPreview function in ANSI C to open a preview of a print job directly from a button or script event. This is helpful when you want to give operators the ability to preview reports before printing them.
The syntax for using this function is:
RPTJobPreview("Print Job005");
Make sure to use the exact name of the print job as defined in the Report Designer. If your print job is named differently, replace "Print Job005" with your actual print job name. This function should be written inside a C-action script attached to a button's Mouse Click event in the Graphics Designer.
When executed, the system will open a print preview window showing the full report with actual tag values and layout formatting, allowing the user to verify the report before printing or exporting.
WinCC SCADA Script to Print a Report
In WinCC SCADA, the RPTJobPrint function is used in ANSI C to directly print a report using a defined print job. This function is useful when you want to allow operators to print reports immediately with a single click, without opening a preview window.
The syntax is:
RPTJobPrint("Print Job005");
Replace "Print Job005" with the exact name of your configured print job as defined in the Report Designer. This function should be written in a C-action script attached to the Mouse Click event of a button in the Graphics Designer.
When executed, the HMI system will send the print job directly to the selected printer, using the layout and settings configured in the Report Designer. This is ideal for applications that require fast, automated reporting like shift reports, daily production summaries, or alarm logs.
